Baking prepared apples is a delightful way to enjoy this versatile fruit.
Whether you’re making a cozy dessert or a healthy snack, understanding the best techniques can elevate your culinary experience.
In this article, we’ll explore everything you need to know about baking prepared apples, from choosing the right apples to enhancing flavors with various fillings and toppings.

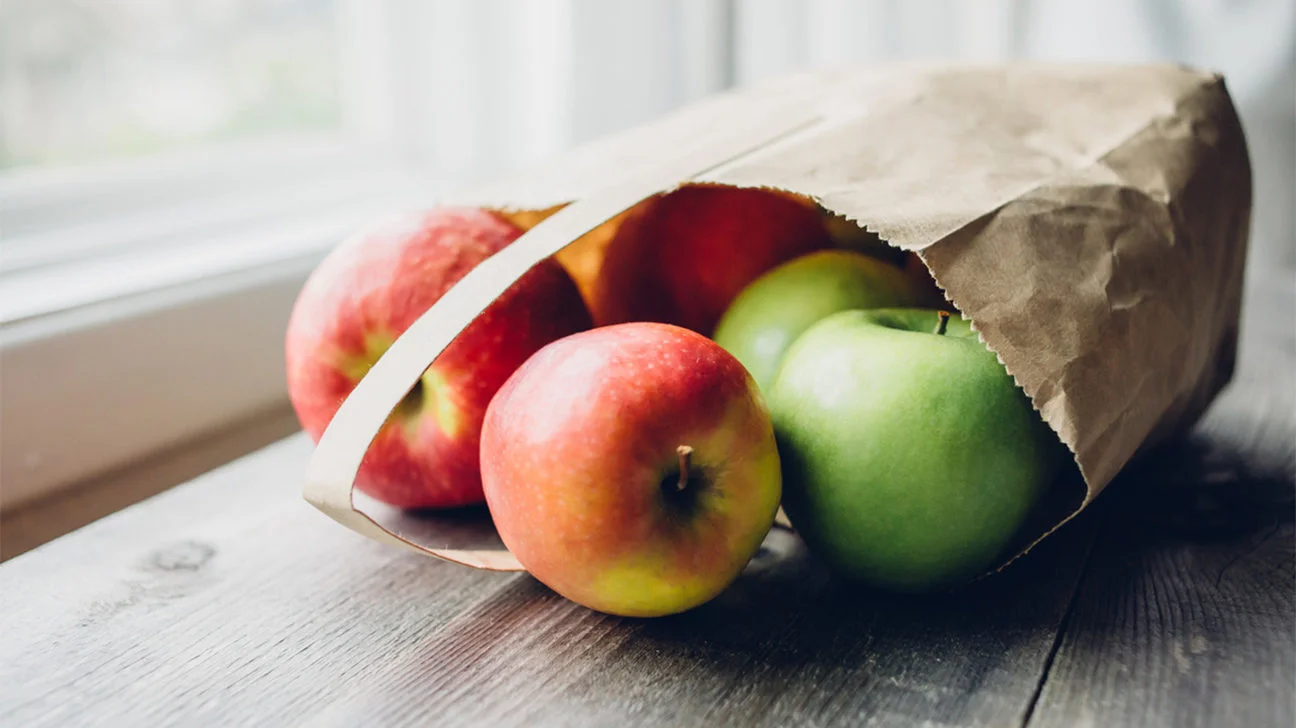
Choosing the Right Apples
Selecting the right apples is crucial for a successful baking experience.
Granny Smith, Honeycrisp, and Jonagold apples are excellent choices due to their firm texture and balanced sweetness.
These varieties hold their shape well during baking, ensuring a pleasing texture in your final dish.
Preparing Apples for Baking
Before baking, it’s essential to properly prepare your apples.
Start by washing them thoroughly under cold water and patting them dry with a clean towel.
Remove the cores using a sharp knife or an apple corer, ensuring to keep the apples intact to hold the fillings securely.
Filling Options for Baked Apples
When it comes to fillings, the possibilities are endless. A classic combination includes brown sugar, cinnamon, and butter.
For a healthier alternative, consider filling the apples with oats, honey, and a sprinkle of nutmeg.
Experiment with different combinations to suit your taste preferences and dietary needs.
Stuffing the Apples
Gently stuff the prepared apples with your chosen fillings, ensuring to pack them lightly to avoid overflowing.
Place the stuffed apples in a baking dish with a bit of water or apple juice at the bottom to prevent sticking and add moisture during baking.
Baking Techniques
Preheat your oven to around 350°F (175°C) for best results.
Cover the baking dish with foil to trap moisture and bake the apples for about 30-40 minutes, depending on their size and variety.
Remove the foil during the last 10 minutes to allow the tops to caramelize slightly.
Checking Doneness
To check if the apples are done, insert a fork gently into the flesh.
They should be tender but still hold their shape.
The filling should be bubbling and fragrant, indicating that the flavors have melded together beautifully.
Serving Suggestions
Once baked, allow the apples to cool slightly before serving.
You can enjoy them warm with a scoop of vanilla ice cream or a dollop of whipped cream for a decadent dessert.
Alternatively, serve them plain for a healthier snack option.
Storage Tips
If you have leftovers, store them in an airtight container in the refrigerator for up to 3 days.
Reheat gently in the oven or microwave before serving to restore their delicious flavors.
Conclusion
Baking prepared apples is a simple yet rewarding culinary adventure that anyone can master.
By choosing the right apples, preparing them with flavorful fillings, and using proper baking techniques, you can create delightful treats that will impress your family and friends.
FAQs About Baking Prepared Apples
Q1: Can I use any type of apple for baking?
A1: While you can use various types of apples, firmer varieties like Granny Smith, Honeycrisp, and Jonagold are best for baking as they hold their shape well.
Q2: How do I prevent my baked apples from becoming mushy?
A2: Ensure not to overbake them.
Check for doneness by gently inserting a fork into the flesh; they should be tender but still firm.
Q3: What are some alternative fillings for baked apples?
A3: You can try filling your apples with chopped nuts, dried fruits, or even a drizzle of caramel for a decadent twist.
Q4: Can I bake apples without adding sugar?
A4: Absolutely! You can sweeten them naturally with honey, maple syrup, or even a sprinkle of cinnamon without adding refined sugar.
Q5: How should I serve leftover baked apples?
A5: Reheat them gently and serve with yogurt for breakfast or as a topping for oatmeal for a delicious and nutritious start to your day.