If you’re on the hunt for a dessert that seamlessly blends simplicity with indulgence, look no further than the timeless delight of buttermilk pie.
This Southern classic has been winning hearts and satisfying sweet cravings for generations, and it’s no wonder why.
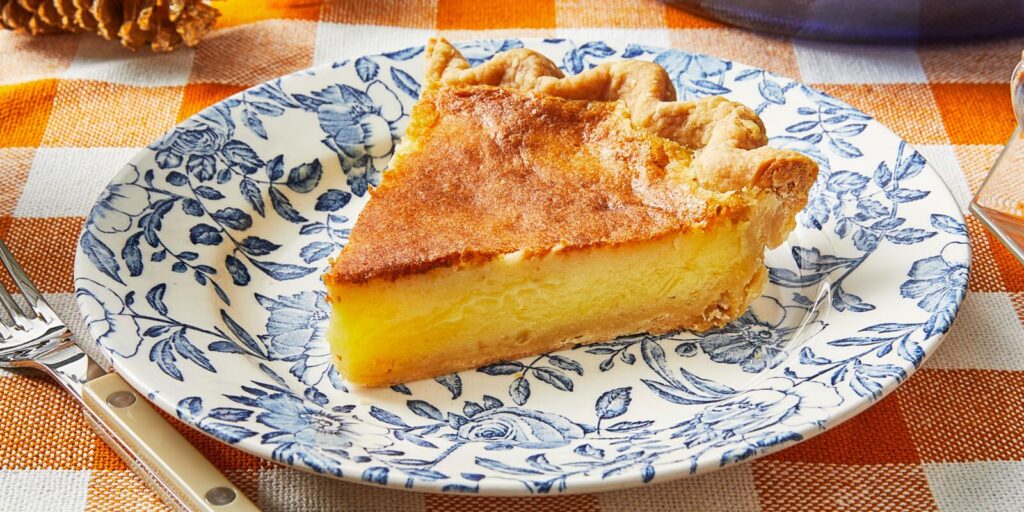
With its smooth custard-like filling and subtly tangy flavor, buttermilk pie is a treat that appeals to the taste buds of young and old alike.
In this article, we’ll take a culinary journey through the steps of creating your very own mouthwatering buttermilk pie masterpiece.

Gathering Your Ingredients
Before diving into the baking process, let’s ensure we have all the necessary ingredients at hand.
The beauty of buttermilk pie lies in its simplicity, requiring only a handful of pantry staples to bring it to life:
For the Pie Crust
1 9-inch unbaked pie crust
For the Filling
1 cup granulated sugar
1/4 cup unsalted butter, melted
3 large eggs
1 tablespoon all-purpose flour
1 cup buttermilk
1 teaspoon vanilla extract
1/4 teaspoon nutmeg (optional, but highly recommended for added flavor)
Preparing the Pie Crust
The foundation of any good pie lies in its crust, and buttermilk pie is no exception.
Start by preheating your oven to 350°F (175°C) to ensure it’s nice and toasty when your pie is ready to bake.
Next, gently press the unbaked pie crust into a 9-inch pie dish, ensuring it’s evenly distributed along the bottom and sides.
Mixing the Filling
Now comes the fun part – creating the delectable filling that will be the star of your buttermilk pie.
In a large mixing bowl, combine the granulated sugar, melted butter, and eggs, whisking until smooth and creamy.
Gradually add in the all-purpose flour, buttermilk, vanilla extract, and nutmeg (if using), stirring until everything is well incorporated and no lumps remain.
Assembling and Baking
Once your filling is ready, carefully pour it into the prepared pie crust, ensuring it’s evenly distributed.
If desired, sprinkle a pinch of nutmeg on top for a decorative touch.
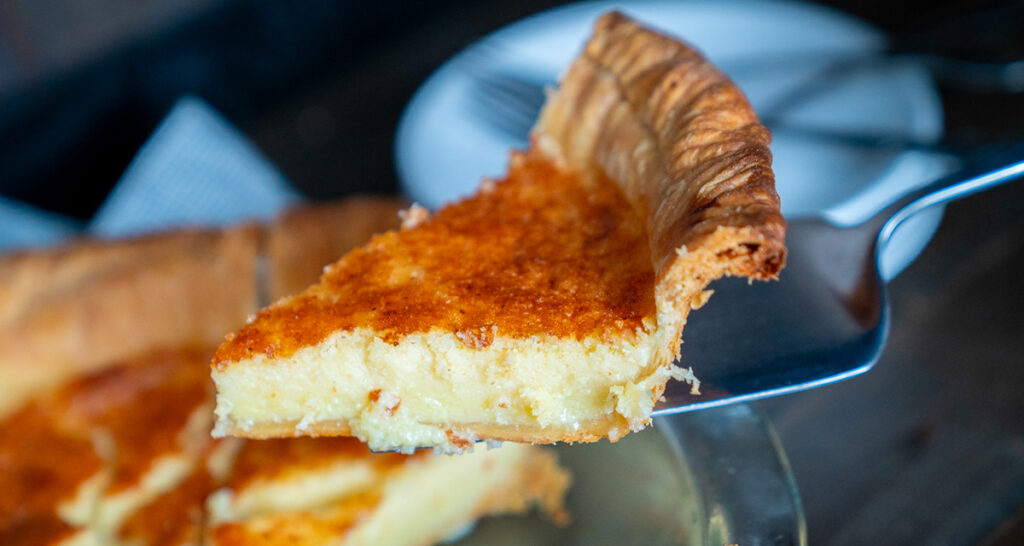
Place the pie in the preheated oven and bake for 45-50 minutes, or until the center is set and the top is lightly golden brown.
Serving and Enjoying
After patiently waiting for your buttermilk pie to bake to perfection, it’s time to indulge in its creamy goodness.
Allow the pie to cool for a bit before slicing into generous portions.
Whether served warm or chilled, each bite promises a symphony of flavors that will tantalize your taste buds and leave you craving more.
Conclusion
In conclusion, mastering the art of buttermilk pie is a delightful endeavor that rewards both the baker and the lucky recipients of this delectable dessert.
With its simple yet irresistible charm, buttermilk pie is sure to become a staple in your culinary repertoire, perfect for any occasion or simply as a sweet treat to brighten your day.
FAQs:
Q1: Can I use a store-bought pie crust instead of making one from scratch?
Yes, absolutely! While homemade pie crust adds a special touch, a store-bought crust works just as well and saves time.
Q2: Can I substitute any ingredients in the filling?
Feel free to experiment with substitutions to suit your taste preferences.
For example, you can use brown sugar instead of granulated sugar for a richer flavor profile.
Q3: How should I store leftover buttermilk pie?
Leftover buttermilk pie can be stored in the refrigerator, tightly covered, for up to 3-4 days.
Simply reheat individual slices in the microwave for a warm and comforting treat.
Q4: Can I freeze buttermilk pie?
Yes, buttermilk pie can be frozen for longer storage.
Wrap the cooled pie tightly in plastic wrap and aluminum foil before placing it in the freezer.
To enjoy later, thaw overnight in the refrigerator before reheating.
Q5: Can I omit the nutmeg from the recipe?
While nutmeg adds a delightful hint of warmth to the pie, it’s entirely optional.
Feel free to omit it if you prefer a simpler flavor profile.